How to Prepare Coco Coir Casing Layer and Bulk Substrate
The best way and quickest method I like to use when preparing my coco coir is by Pasteurizing. Pasteurization provides a 5 log or 99.999% reduction of the microbial load, based on using the most thermotolerant target pathogen Coxiella Burnetii. With pasteurization, not only are pathogenic microorganisms killed but also a wide range of spoilage organisms are destroyed. In order for us to achieve pasteurization we need two hit two parameters, Temperature and Time, as shown below in Table 1.
Bulk Substrate - Typically any fibrous material with supplemented nutrients that mycelium will colonize and fruit.
Casing Layer - Typically a non-nutritious fibrous material placed on the top of mushroom mycelium in order to prevent evaporation or drying of the mycelium. I.E a “case” or top layer. Mushroom fruiting bodies will grow through this layer.

Table 1. Pasteurization Times - Internal Temperature
Required Reagents
Block of Coco Coir (It is important to source coco coir that has not been washed with salt water or chemicals)
Large Tote, better if its insulated. Something like a camping cooler. Make sure the tote is made of a plastic that can withstand the heat, Polypropylene (PP), Polyurethane. If you have a large stock pot that can hold 20L+ you can use the stove and pot instead.
Big Pot to boil water.
Temperature Gauge (not necessary, but good to have for peace of mind)
Procedure
Multiple your Coco Coir Weight by 4 to get your water weight. You also want to boil an extra amount of water to preheat you’re insulated camping tote.
In your big pot boil tap water
Add the coco coir directly if you’re using a stove and big pot.
Pour about 1 liters of boiling water into your tote, this preheats the container.
Dump out water from Container (Skip if you’re using a large Stock Pot)
Put Coco Coir into the Container or Pot
Pour Water into Container (Skip if you’re using a large Stock Pot)
Put Lid on Container or Pot
Let it “stew” for the necessary time, come back in an hour or so.
Break up clumps and mix
Let the Coco Coir cool down, this may take several hours. You can also move it into a clean non-insulated container to cool down faster.
*If you decided to preheat an insulated container the coir will be hot for nearly a whole day. you can pour it into a tub(that you're going to use to make a tub) so it cools down faster. Or just skip that step and it will be cool the next day.
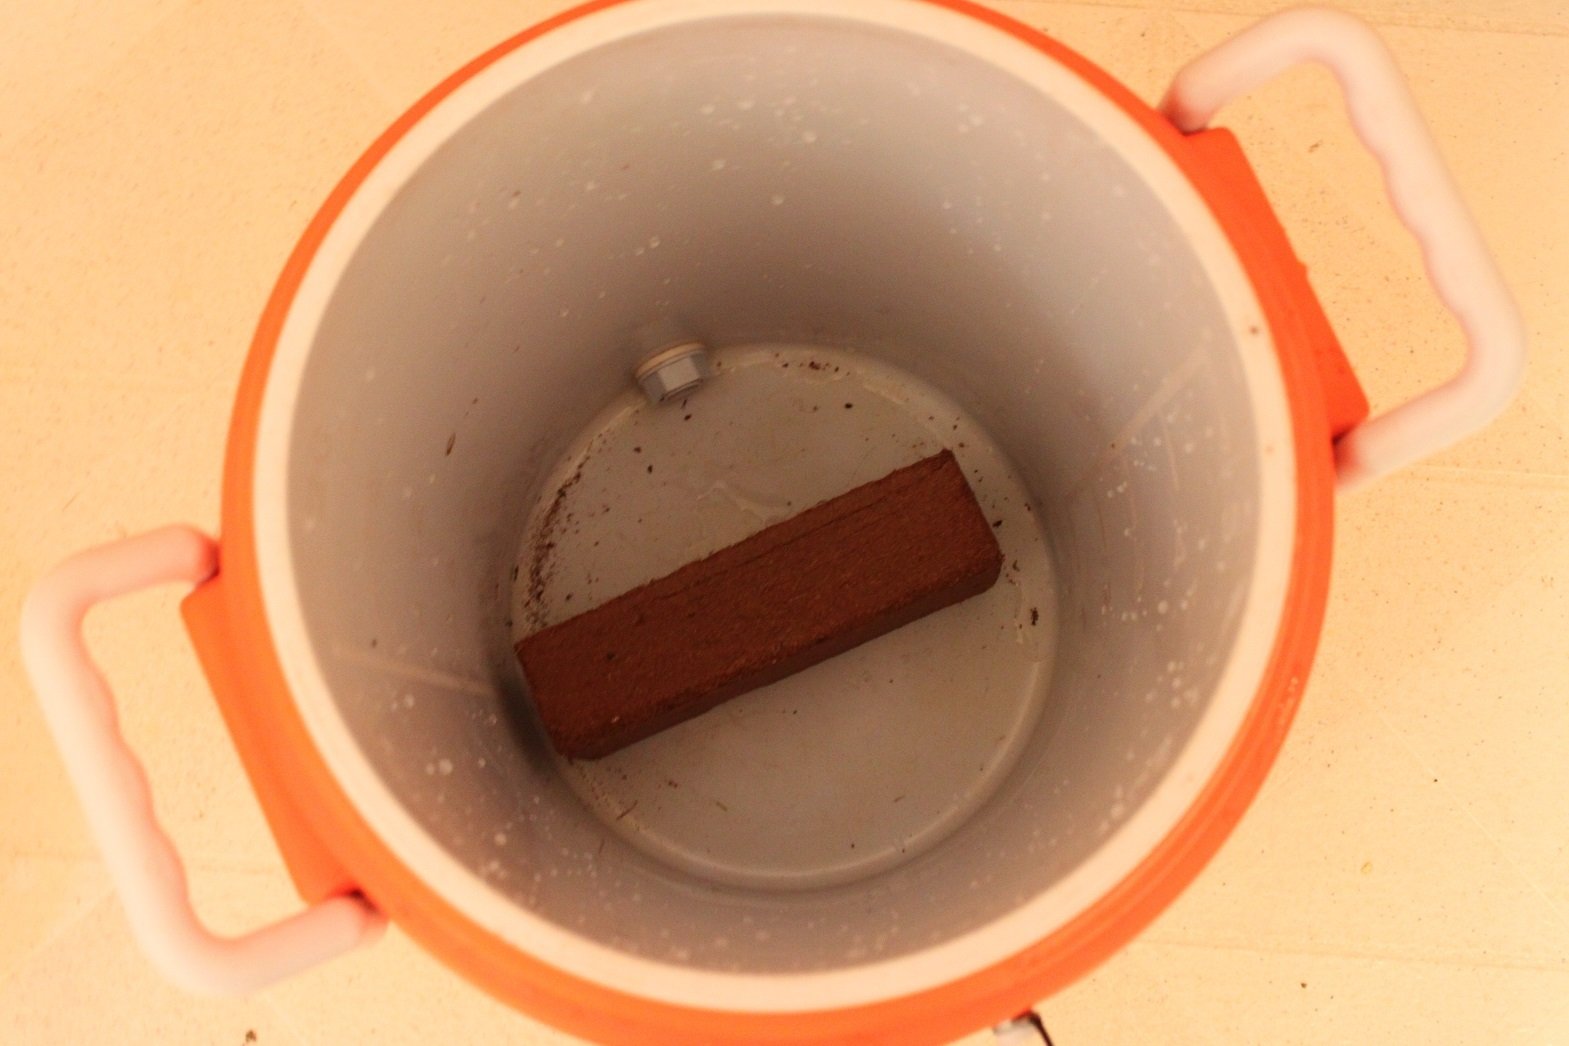
Fig 1. Insulated Cooler Container

Fig 2. Insulated Camping Container
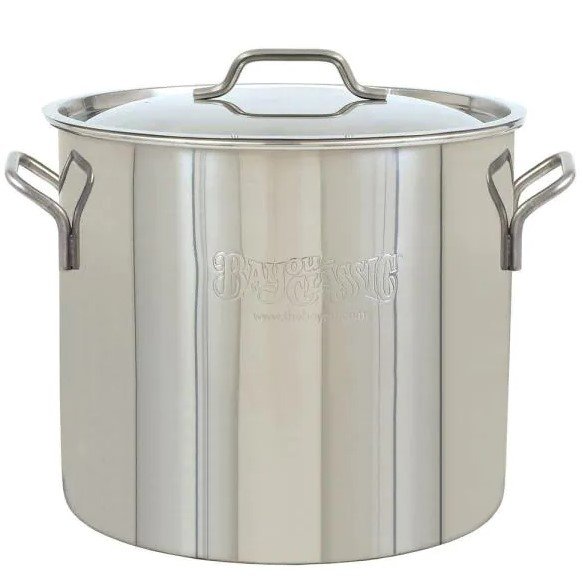
Fig 3. Large Stock Pot
Note: 1g of water equals 1 ml, so you can measure out the volume of water.
**Always check field capacity Fig 7. Your coir might not be the same our Coco Coir.
Now, that your coco coir is hydrated it is important to check the temperature of the material to see if we’ve hit the necessary pasteurization times. Before taking measurements check manufacturer specifications to ensure that the probe is rated for a temperature range. Some temperature measuring devices may also need to be protected from moisture. In order to measure the temperature place temperature probes in the coolest portions of the treated soil or media. You can use several probes spread out uniformly to provide an accurate average reading of the medium, as shown in Fig 1. Begin timing the heat treatment once the probes show you have reached the desired temperature at the coolest spot. Continue to monitor temperature to ensure that it does not drop below the target.
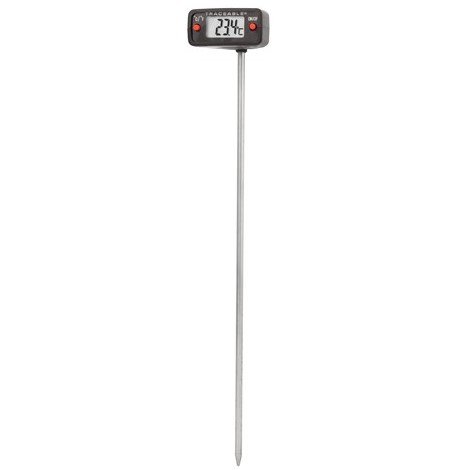
Fig 4. Soil Thermometer Temperature Probe
The soil thermometer Fig 4. you use can be digital or analog (dials), you can find them at Home Depot in the garden section. There is no need to get anything super fancy as you could use the above Table 1. to figure out how long you need to pasteurize the coco coir. If you have a Infrared temperature gun you could also use that, simply mix up the coco coir and take several measurements on the surface.

Fig 6. Equal Quadrants to sample
I typically use a Temperature Gauge with a long stainless steel stem that I use to poke into the substrate medium. If you plan to continuously heat the coco coir on the stove put it on a simmer with the lid on and let it “steam” for the necessary time as indicated in Table 1. If find this the best method in measuring the temperature of my coco coir, I usually measure it in quadrants and at a depth 1/2 to 2/3 deep. Taking a minimum of 4 measurements will assure a good average temperature of the coco coir substrate. Refer to Fig 6 for points to poke.
Use the pasteurized Coco Coir the next day. If you didn't mix the coir while it was hot, it is ok. You can mix it once it's cooled down the next day. Remember to check field capacity of the coco coir, if it's too wet you can add some vermiculite right from the bag, or wring out the coir as you go. If it's too dry, simply add more clean water to the coir, make sure to keep notes so you can hit it dead on next time.

Fig 7. Field Capacity
Field Capacity is easily measured by performing a simple squeeze test. Field Capacity is simple a term to define the amount of water the material can store freely before draining, which will usually be the moisture content of the porous material (Coco Coir).
Grab a hand full of material (when its cooled down)
Squeeze it firmly.
There should only be a 2 to 3 drops of water.
With the Coco Coir pasteurized and cooled you may no proceed to use it as a casing layer or bulk substrate for your mushrooms.