Holiday Gift Set Instructions: Unboxing The Grow Kit and Combating Climate Change.
Fig 1. Holiday Gift Set
Welcome to the wonderful world of Fungi!
I am sure you’re quite fascinated and curious with what you need to do in order to successfully grow or fruit your little mushrooms. We’ve specifically chose beginner friendly mushroom mycelium to be included in the kits to ensure best success. Rest assured you have one of the finest handcrafted mushroom mycelium kits in your possession and you’re in good hands. At the end of this you can help sequester and store Carbon!
Lets get started or rather growing!

Fig 2. Holiday Giftset Content
What is included in the Gift Set
1. Inoculated Grow Kit - Premium Hardwood Substrate inoculated with: Shiitake, Grey Oyster, Pink Oyster, Blue King Oyster, Chicken of the Wood, or Lions Mane
2. Fine Mist Mushroom Spray Bottle - Super fine mist for humidification.
3. Temperature and Relative Humidity Sensor - Visual Grow Condition Readings
4. Biodegradable Cardboard packaging material - End of Life Mushroom Food.
Instructions (Overview)
i. Open up the handcrafted wooden box
ii. Take a look at the Inoculated Grow Kit (1) and monitor the growth by letting it do its own thing till it is fully colonized. White Mold (mycelium) will begin to grow bit by bit. Place the Grow Kit somewhere warm (room temperature) and away from direct sunlight, let the mycelium do all the work.
Roughly 1 month later
Make sure grow kit is completely white
iii. Put the batteries into the Temperature and Relative Humidity Sensor (3), they are taped to the back to conserve battery life.
iv. Each Temperature and Humidity Sensor (3) comes with a long cable that will have a probe, do not submerge the probe in water. The probe can be placed inside your Fruiting Chamber (Plastic Container with lid) which will serve as a High Humidity Environment critical to mushroom growing.
v. Clean your Fruiting Chamber, Grow Kit, and a Knife. Bring a small pot of water to a boil and let it cool. Fill the Fine Mist Mushroom Spray Bottle (2.) with the clean water.
vii. Poke four small 1/8” holes on the top of your grow kit with 1” spacing between holes. Careful as to not damage the white mycelium.
viii. Place the Grow Kit into your Fruiting Chamber and mist the side walls so it appears “wet” with condensation. This should be done a minimum of twice a day. Every time you mist the container make sure to use the lid to fan the container to evacuate any built up CO2.
iv. Every so often check on the humidity on the Temperature and Relative Humidity Sensor, if it is below 70% quickly provide additional misting.
x. Mushroom Fruiting Bodies will usually fully develop within a week, mushrooms will tend to double in size daily.
xi. After your first harvest, dig a hole in your garden and place the Grow Kit into the hole and top it off the the Biodegradable Cardboard Packaging Material (4) this will serve as additional food source for the mushroom mycelium. By planting the mycelium you will have sequestered roughly 0.2lb or 0.12 kg of Carbon.
Mycelium Progression Day 1 to ???
Below you will find additional information regarding the entire growing process.

Fig 3. Mushroom Life Cycle
Mushroom Growing and Fruiting Steps:
A. Colonization & Incubation - Roughly 2 to 4 weeks.
B. Maturity - Roughly 2 to 3 weeks
C. Primordial (Early mushroom formations) - Roughly 1 to 2 weeks
D. Fruiting (Mushrooms!) - Roughly 1 week
Colonization & Incubation
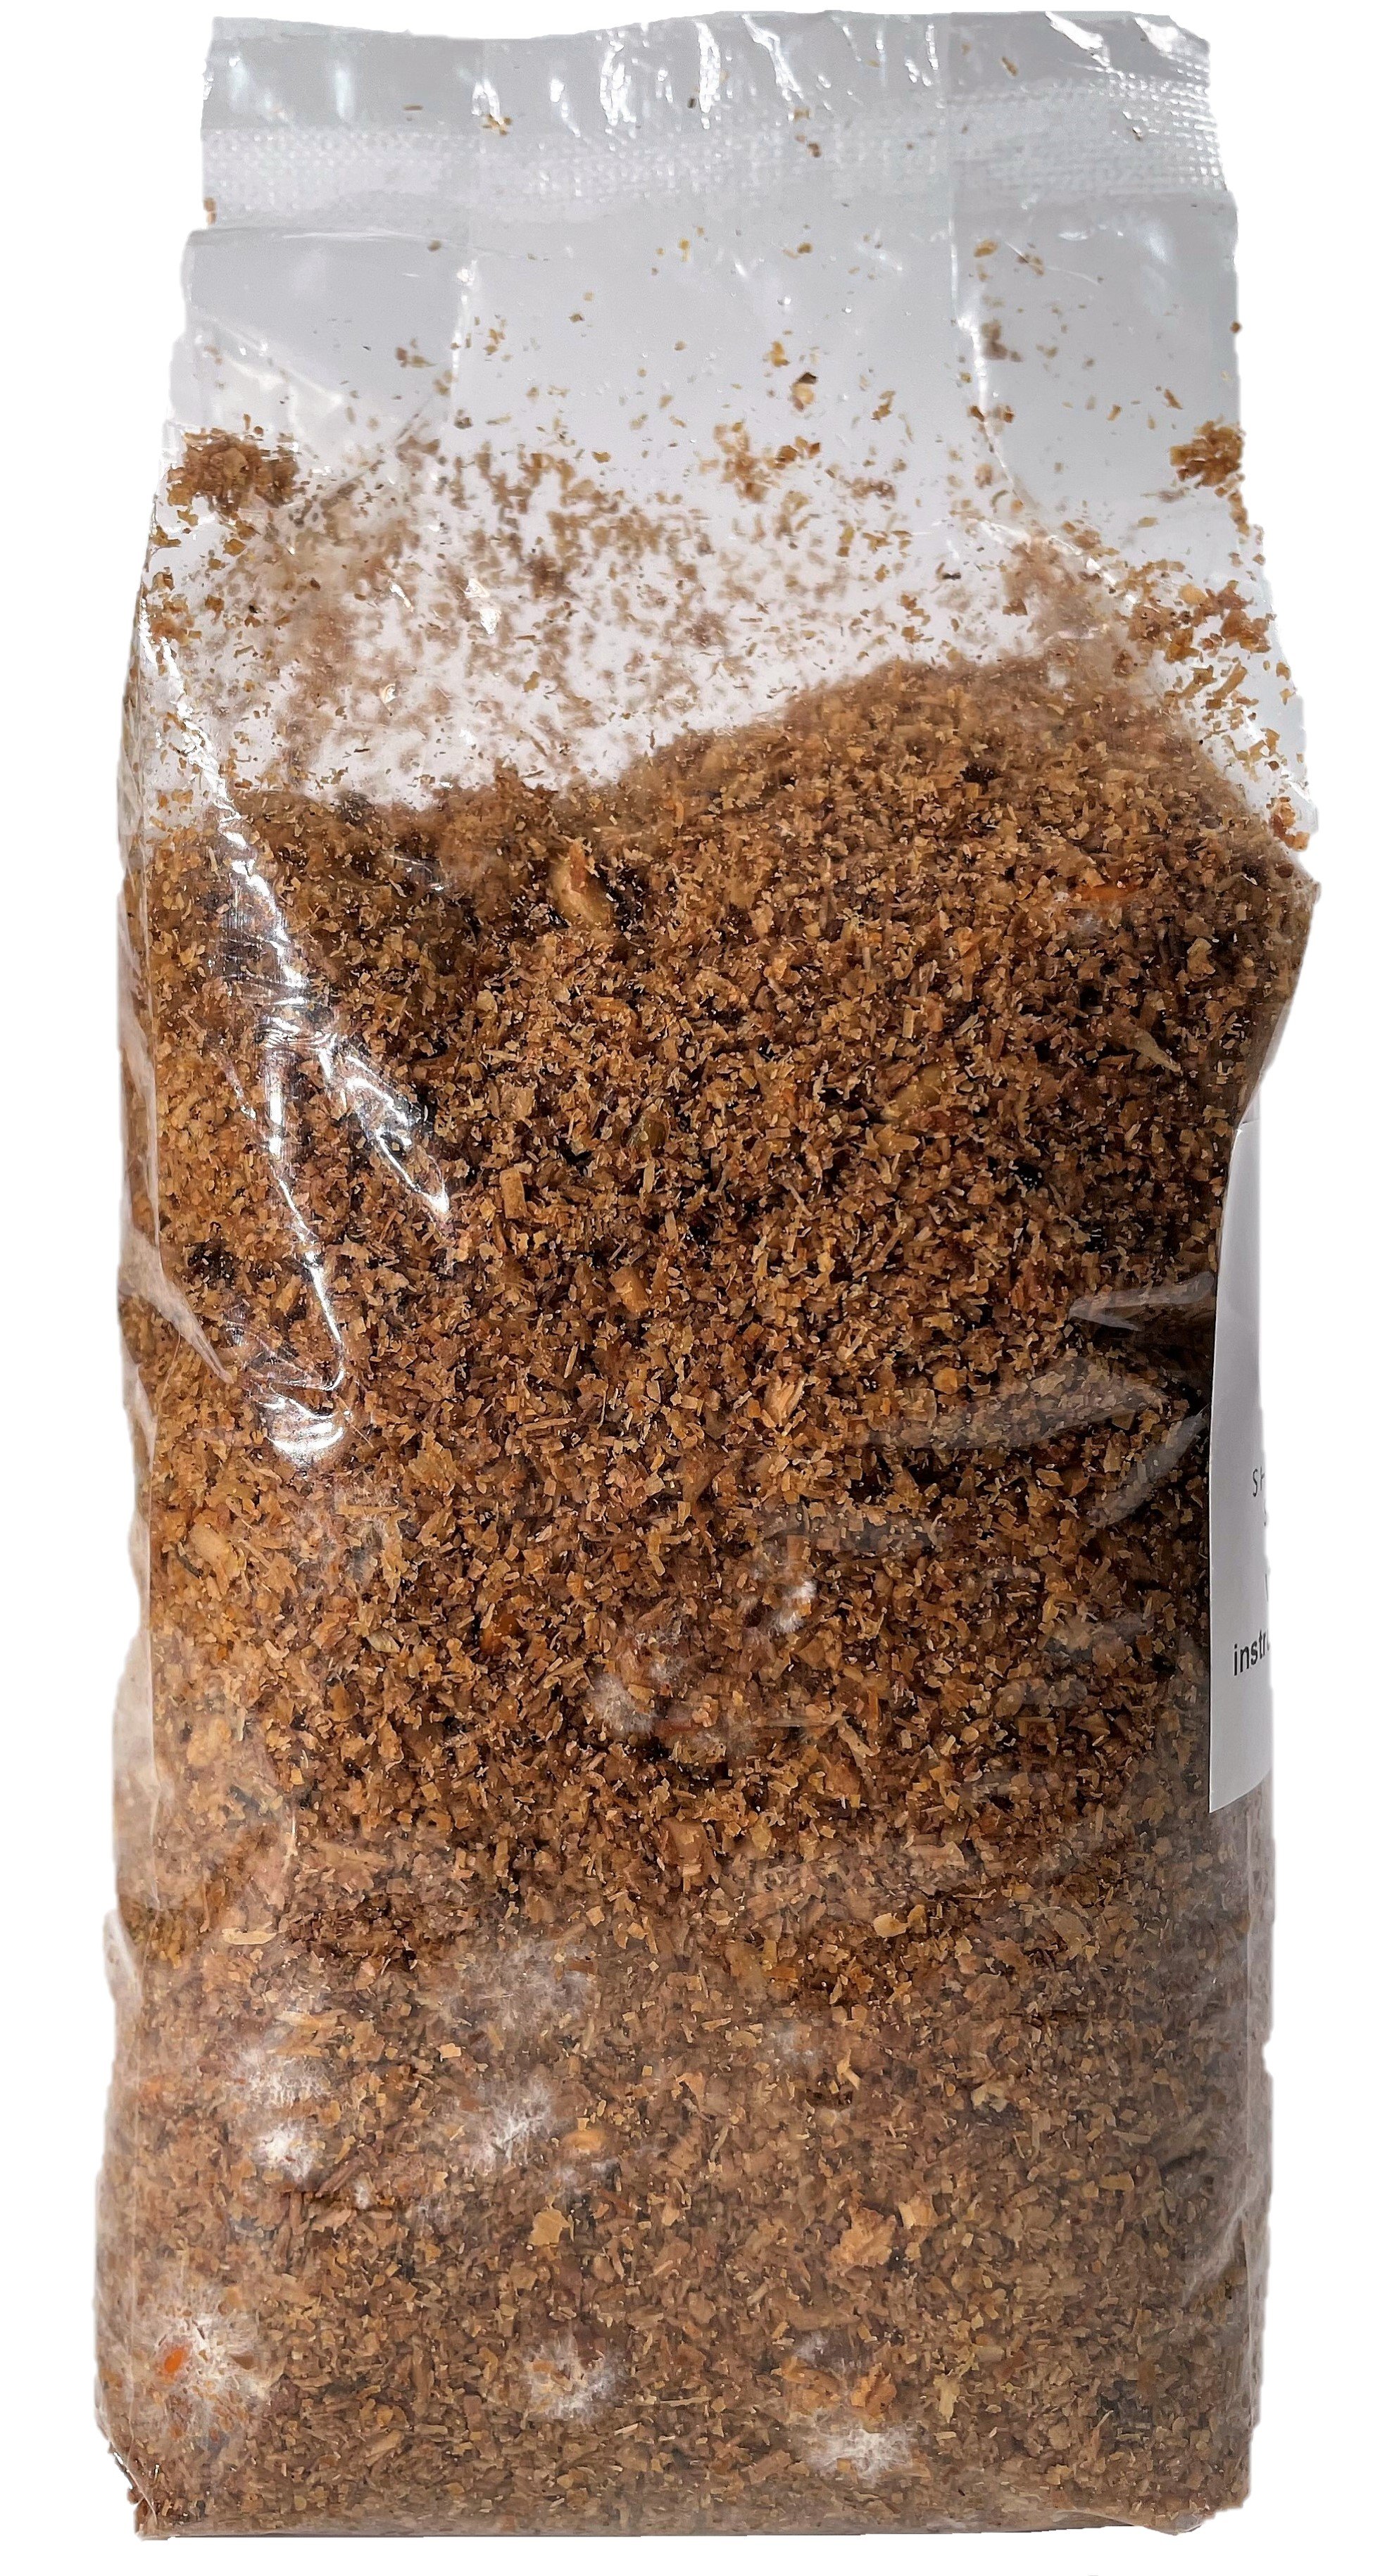
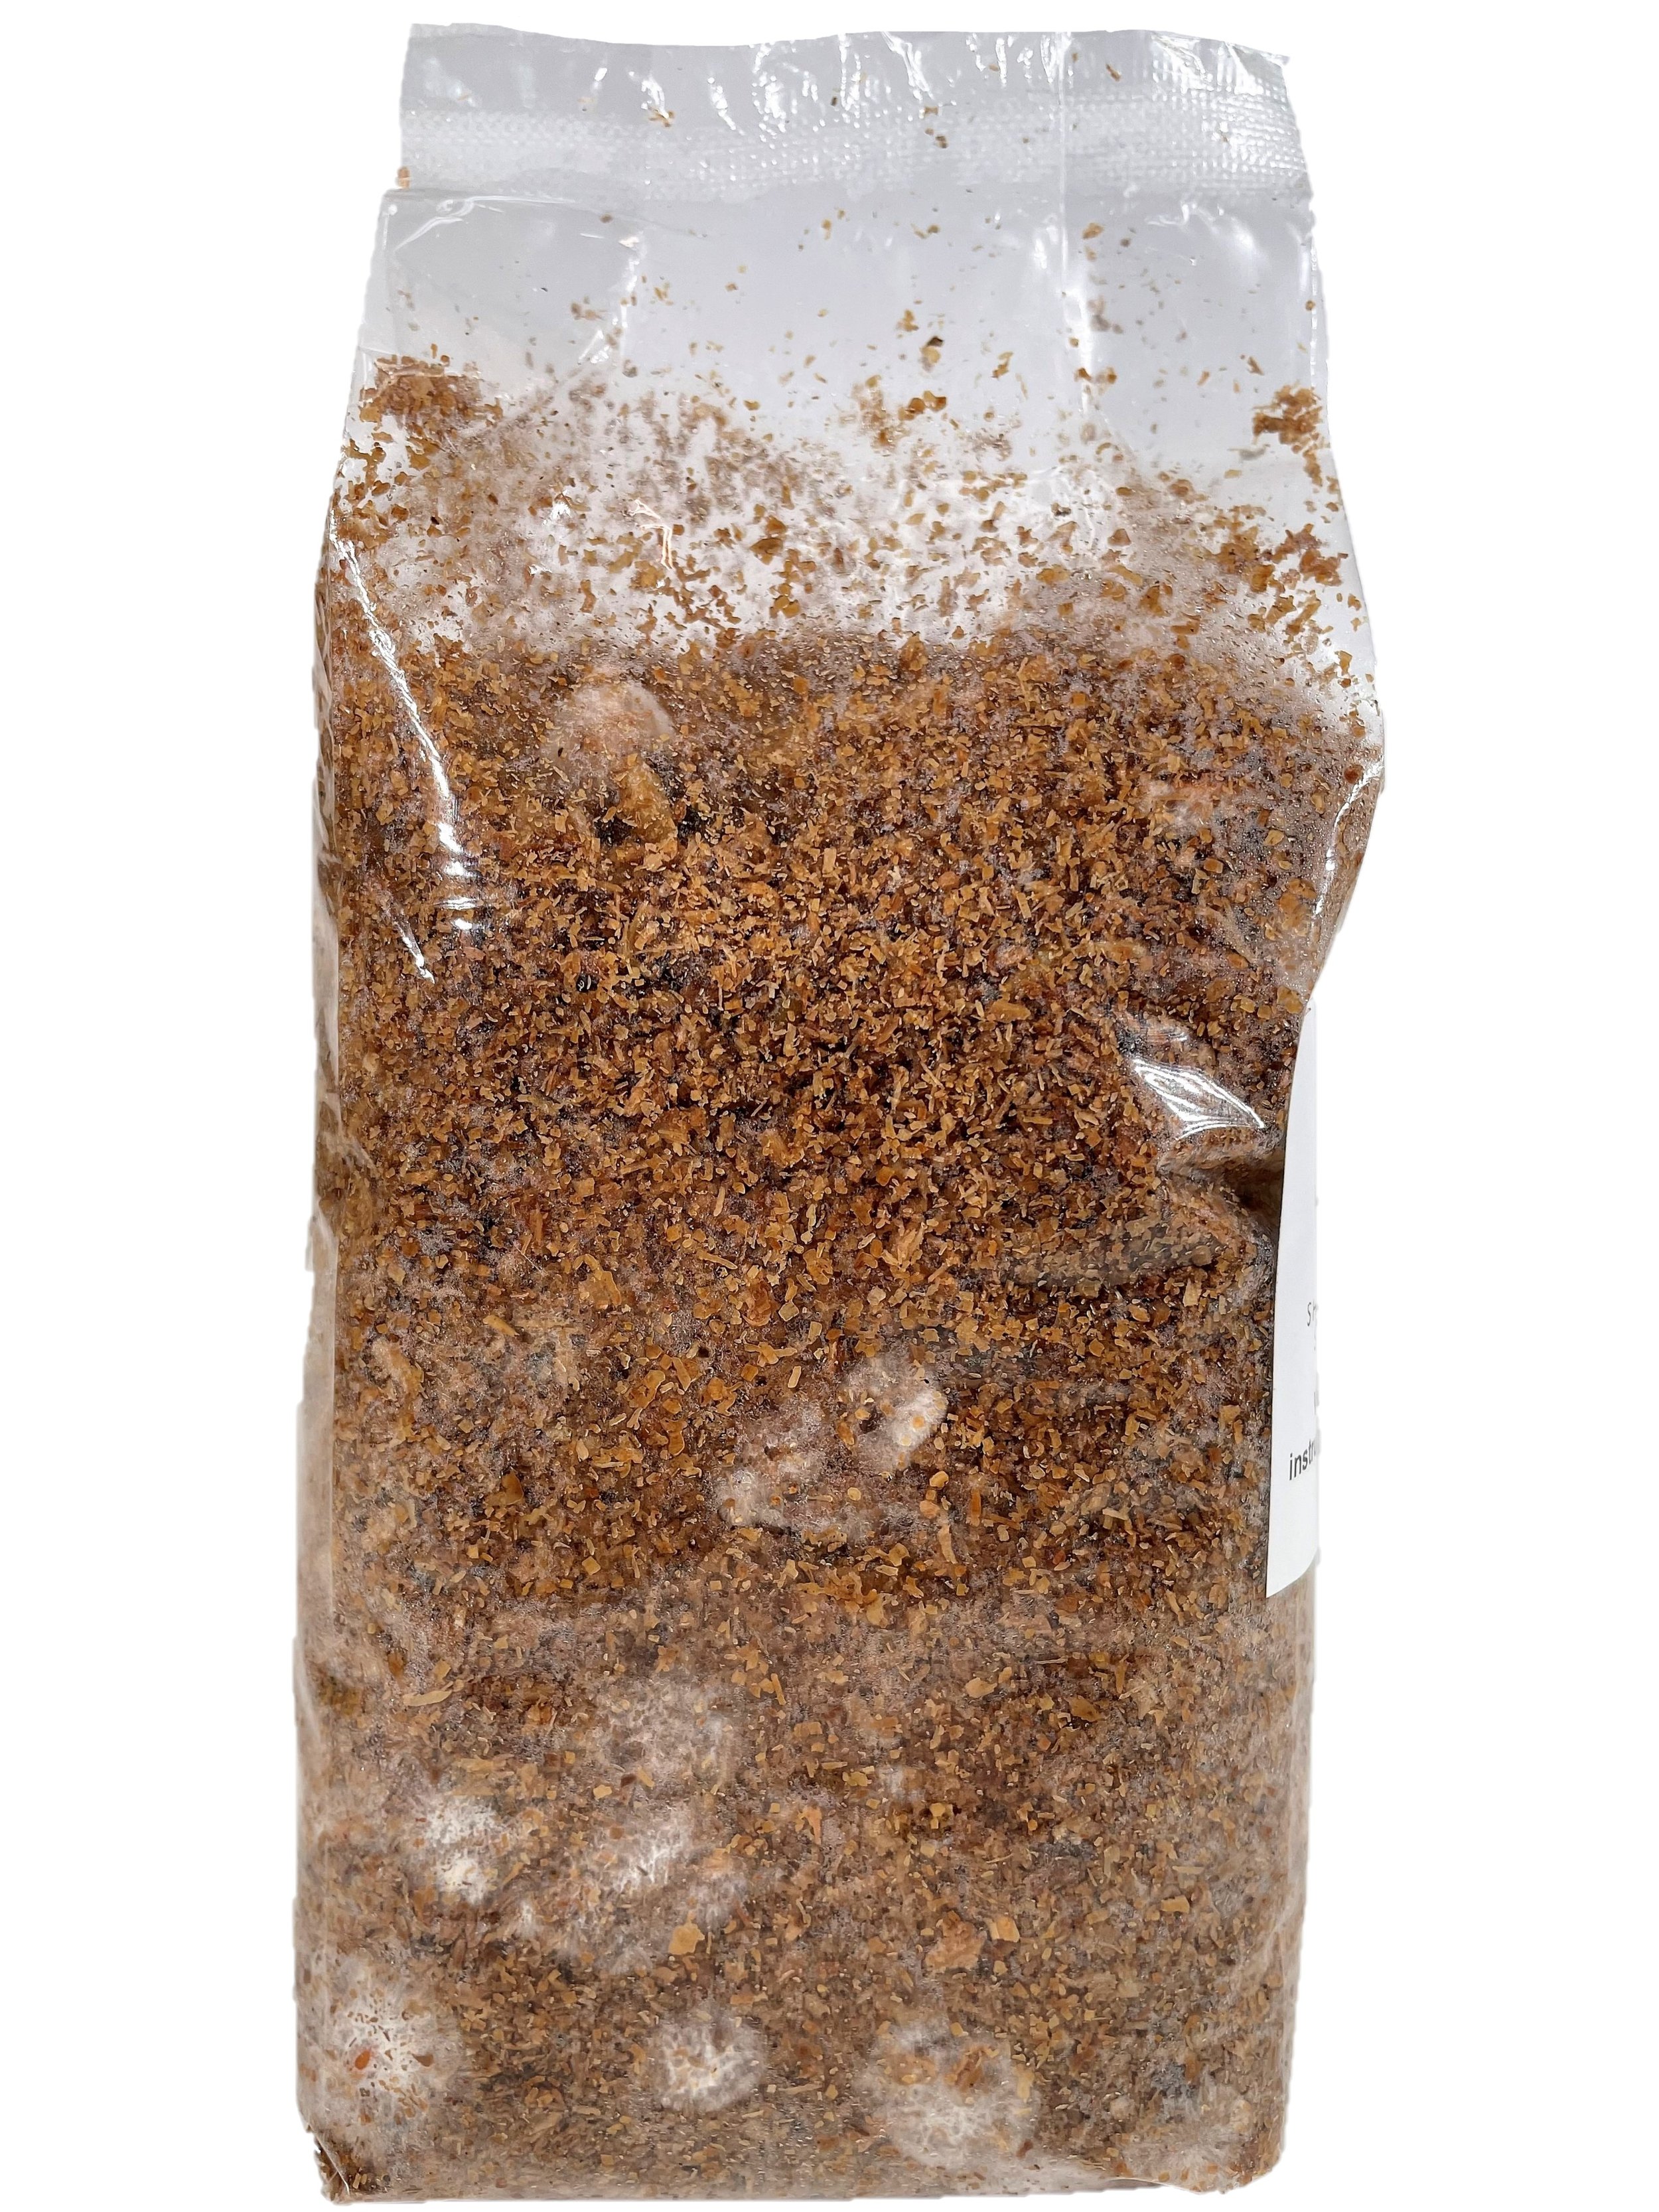
Each Gift set comes with an Inoculated Grow Kit that will take between 2 to 4 weeks to fully colonize, this will depend on storage temperature. Growth can be accelerated by storing the Inoculated Grow Kit in an warm environment between 22 and 30°C. Each Inoculated Grow Kit is sterilized prior to inoculation with mushroom mycelium, it is critical to not puncture or open up the hermetically sealed bag as contamination will occur.
You should begin to notice small growths that look very similar to white snowflakes or neat strands of fluffy white cotton, as the days progress the mycelium will begin to work its way through the Grow Kit and colonizing it thoroughly turning the Hardwood Substrate white.
Maturity
Once the mushroom mycelium has fully colonized the hardwood substrate the mycelium will begin entering another stage of growth as they realize there is no where else to grow or “colonize”. Once the mycelium realizes it has out grown its environment it will begin to start maturing and begin to development of Baby Mushroom Fruiting Bodies.
1. Pink Oyster - The mycelium will begin to develop a pinkish pigmentation or hue as the Baby Mushrooms begin to develop.
2. Blue King Oyster - The mycelium will begin to develop and build thick layers of Hyphae and begin to “fluff up”. The mycelium often looks to be making a run for it!
3. Grey Oyster - The mycelium will begin to develop and build thick layers of Hyphae and begin to “fluff up”. The mycelium often looks to be making a run for it!
4. Lions Mane - The mycelium is quite wispy and thin, it will often appear as nothing is growing but you can notice the hardwood substrate begin to fade in color as the mycelium digests the lignin and cellulose.
5. Chicken of the Woods - The White mycelium will turn into more of a yellowish orange sulphur color and start developing “fluff” that will keep growing till it reaches a good level of oxygen.
6. Shiitake - The white mycelium will produce brownish pigmentation which are metabolites that help protect the mycelium from contamination.
Note: Once the Grow Kit is fully colonized, mycelium growth may begin to slow down, we can initiate the maturity stage by placing the grow kit in a cool cold environment (6 to 10°C) for 24 to 48 hours. You alternatively could do nothing and the mycelium would eventually enter maturity > Primordial > Fruiting Stages on its own.
Primordial
This step in the mushroom life cycle will take approximately 1 to 2 months. The mushroom kit will begin to form “pinheads” which will resemble the caps of the mushroom or appear to look like very tiny baby mushrooms. This is when you will need to provide more oxygen. Wipe down the surface of the plastic bag with kitchen safe cleaner, wash and dry a small kitchen knife.
1. Pink Oyster - Poke 1/8” size holes ~1” apart along the top of the Grow Kit, or Cut 1/2” x’s 2” apart.
2. Blue King Oyster - Poke 1/8” size holes ~1” apart along the top of the Grow Kit, or Cut 1/2” x’s 2” apart.
3. Grey Oyster - Poke 1/8” size holes ~1” apart along the top of the Grow Kit, or Cut 1/2” x’s 2” apart.
4. Lions Mane - Poke 1/8” size holes ~1” apart along the top of the Grow Kit, or Cut 1/2” x’s 2” apart.
5. Chicken of the Woods - Poke only one 1/8” hole near the top of the bag, leave the grow kit in a container. It is critical to keep this mycelium/grow kit as clean as possible.
6. Shiitake - Without damaging the Mycelium cut open the bag and gently remove the Grow Kit in its entirety (New Grow Log) and place inside a plastic container.
Fruiting
Now that you waited about 1 to 2 months, you’re finally ready to begin the fun and rewarding process of growing mushrooms! (We also sell Ready to Fruit Grow Kits)
below you will find additional growing instructions for your Grow Kit.
1. Pink Oyster
2. Blue King Oyster
3. Grey Oyster
4. Lions Mane
5. Chicken of the Woods
6. Shiitake
Use your Temperature and Relative Humidity Sensor to Monitor that you’re within the correct environmental parameters highlight for your mushroom Grow Kit. Fill your Shroom Stop Misting Bottle with clean water (preferably boiled water that is cooled down). Each Temperature and Relative Humidity Sensor comes with a probe that you can place inside the container or near your Mushroom Grow Kit. The Temperature and Humidity will accurately display the Humidity of your Fruiting Chamber, carefully monitor the levels and mist your mushroom if it begins to drop. Every time you want to mist, aim for the inside walls of the container, after misting fan the box once of twice with the lid to evacuate/remove built up Carbon Dioxide CO2. Continue this process till your mushrooms fully develop into mature Mushroom Fruiting Bodies, you can refer to the individual growing instructions for reference/pictures of when to harvest.
End of the Line and How we can all Combat Climate Change.
The Mushroom Grow Kit will run out of nutrients and the best thing to do is to plant it into your garden or backyard. Carefully remove the plastic and dispose of properly. Place the spent Grow Kit into a hole and top it off with the Mushroom Packaging Material or additional hardwood. By planting the mycelium into the ground it acts as a carbon sink and you’d have sequestered roughly 0.2 lb or 0.12 kg of Carbon. The mycelium will continue to thrive in the ground and possible produce mushrooms the next time around. Welcome to the world of Fantastic Fungi!