How to make a Monotub Fruiting Chamber
Principle of a Monotub
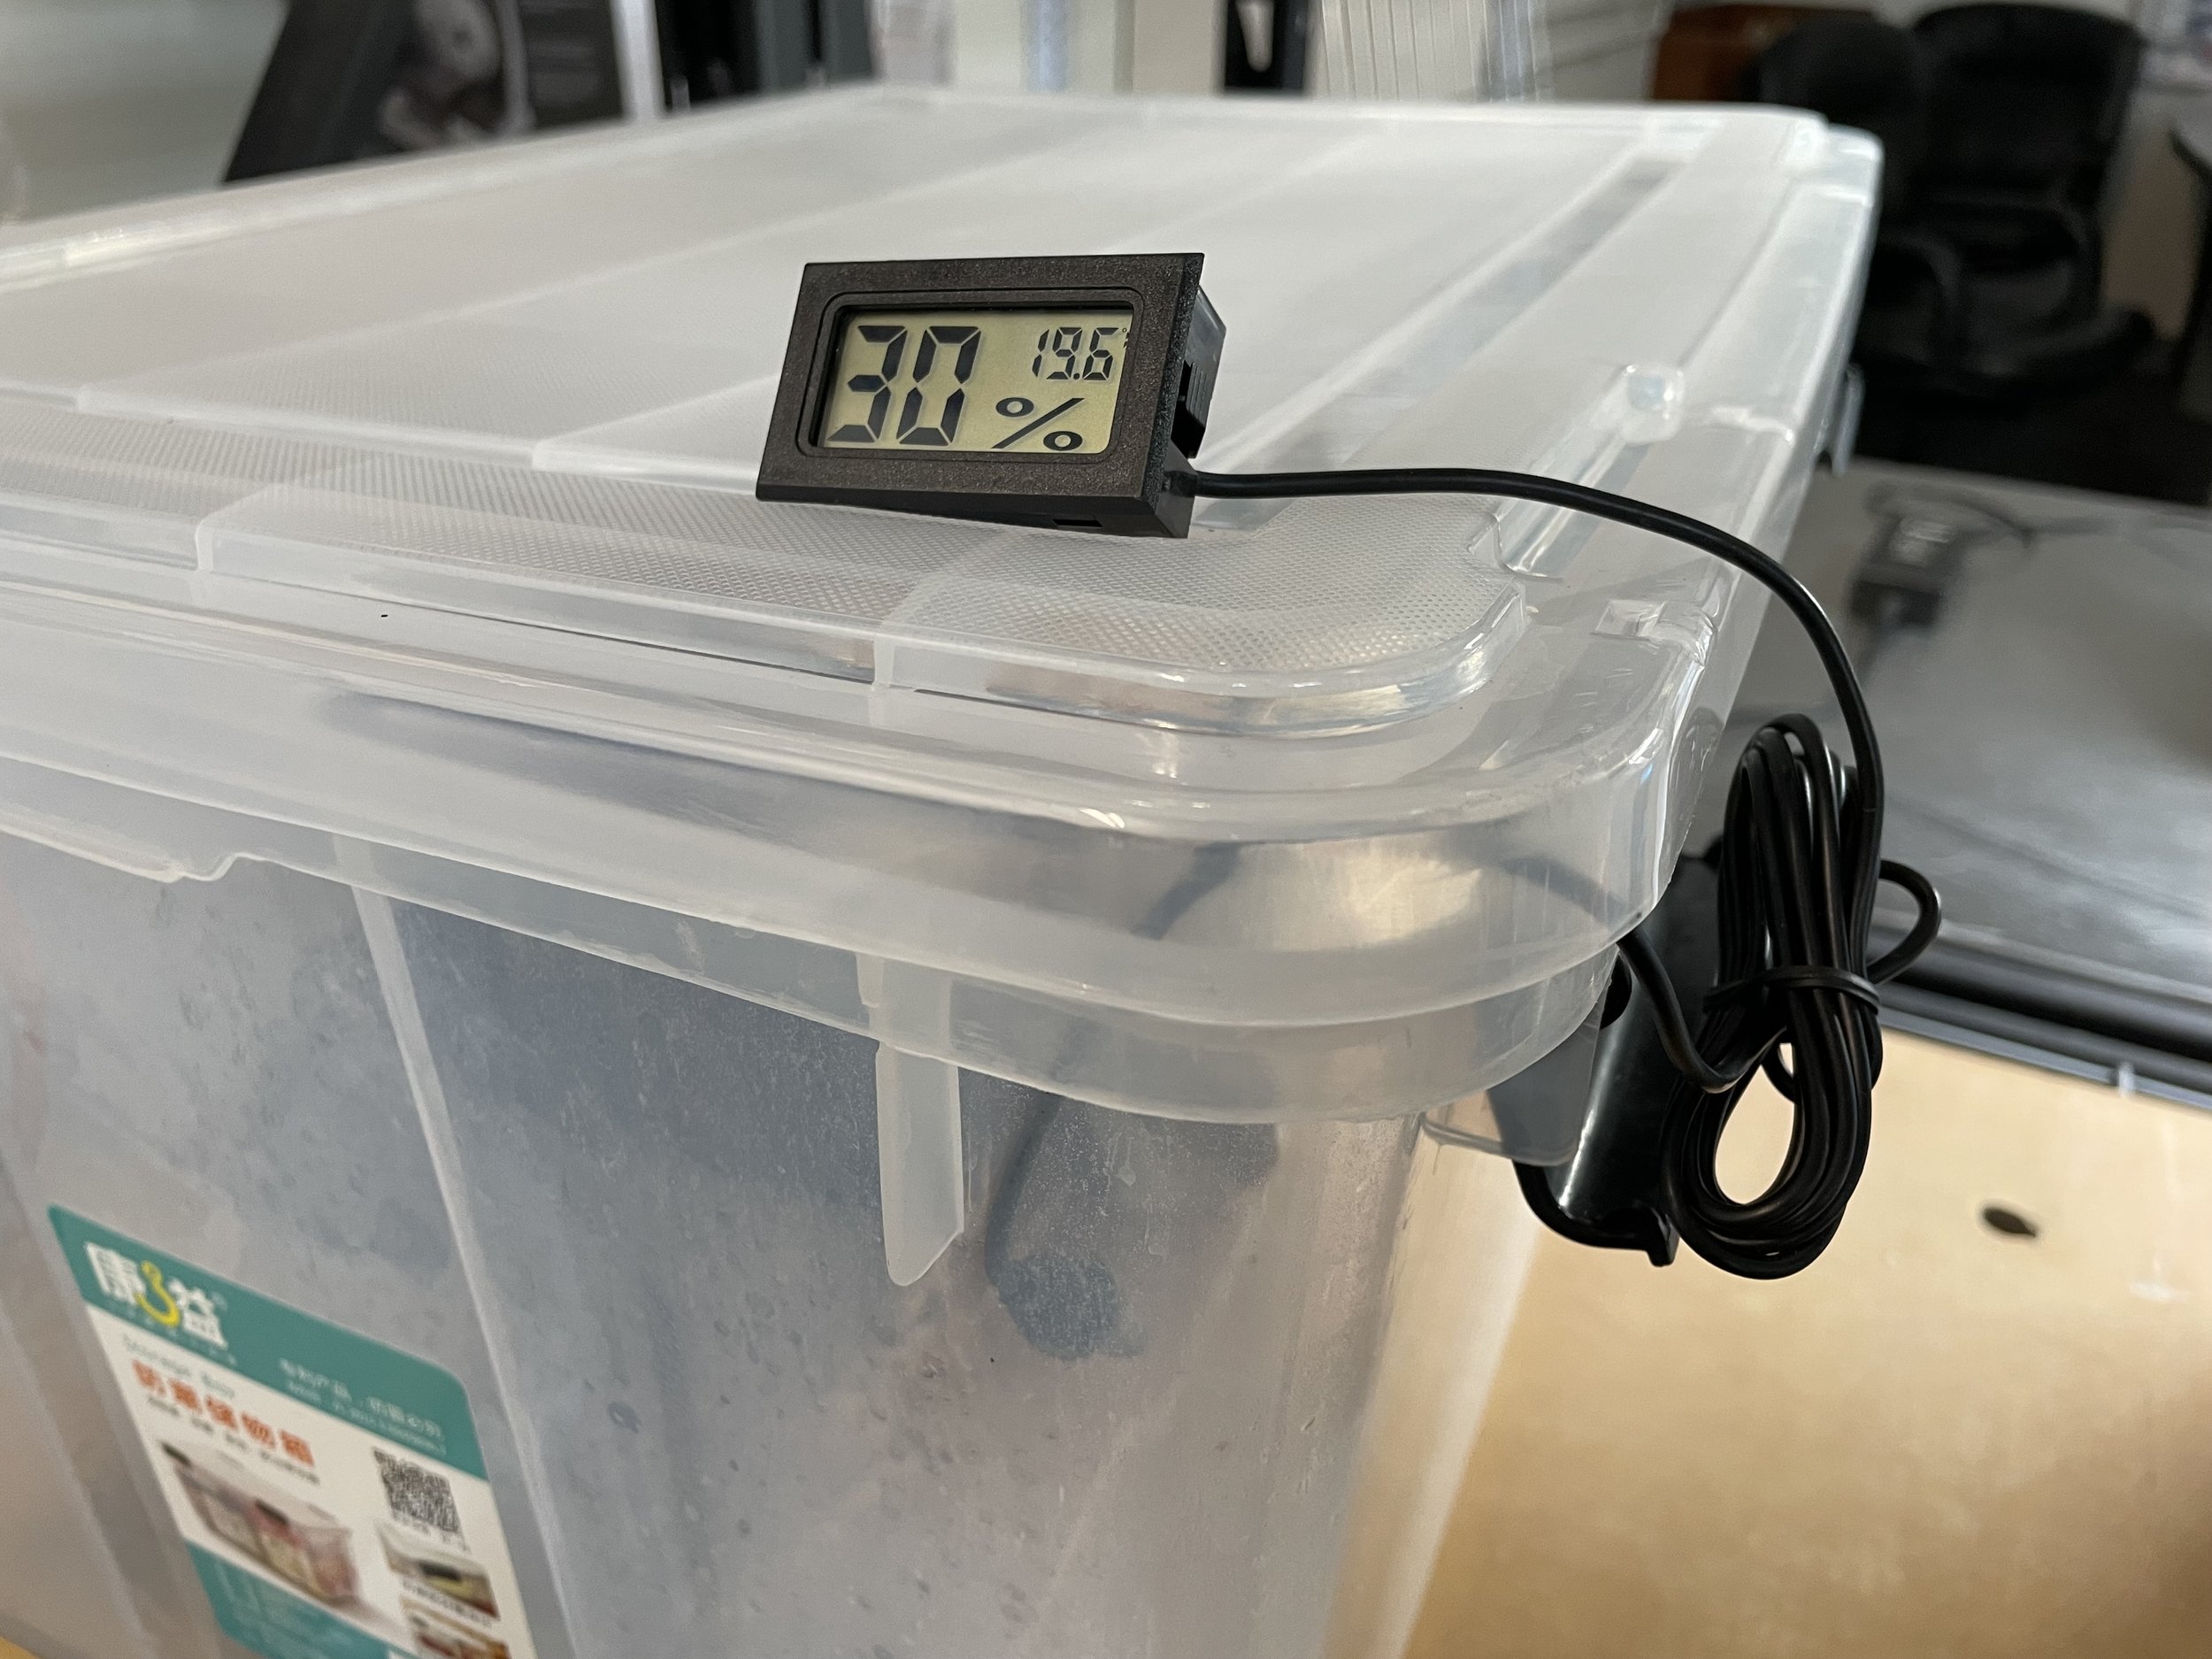
This guide will primarily focus on providing a basic concept and a foundation to build on. I’ll go over how we can make a simple monotub at home. You may be wondering what and how a monutub works. A monotub is a simple plastic container that has holes drilled into the side of it and patched with a semi-permeable and breathable material, this is usually poly-fill or furnace filter material. The idea behind a monotub is to trap the humidity inside a confined space so it can build up to levels that are conducive to mushroom growth, while providing passive air exchange (Diffusion) of CO2 and Oxygen. The holes drilled long the side of the mono tub provide areas of passive air exchange and help retain water or humidity. The key to a successful monotub is consideration of your growing environment or room that the tub will be sitting in, you may need more or less holes depending on how dry or humid your air in your house is, it is a good idea to have access to a humidity sensor to provide you with a measurement.
The neat thing about a Monotub is that it provides us with an all in one container to mix our mushroom grain spawn with Hardwood or Poopy Substrate for colonizing and then also serving as a fruiting chamber. The monotub is often considered between a manual and automatic setup and provides the best beginner friendly alternative to expensive growing rooms. We often set and forget our monotubs as their so easy to maintain.
How it’s made
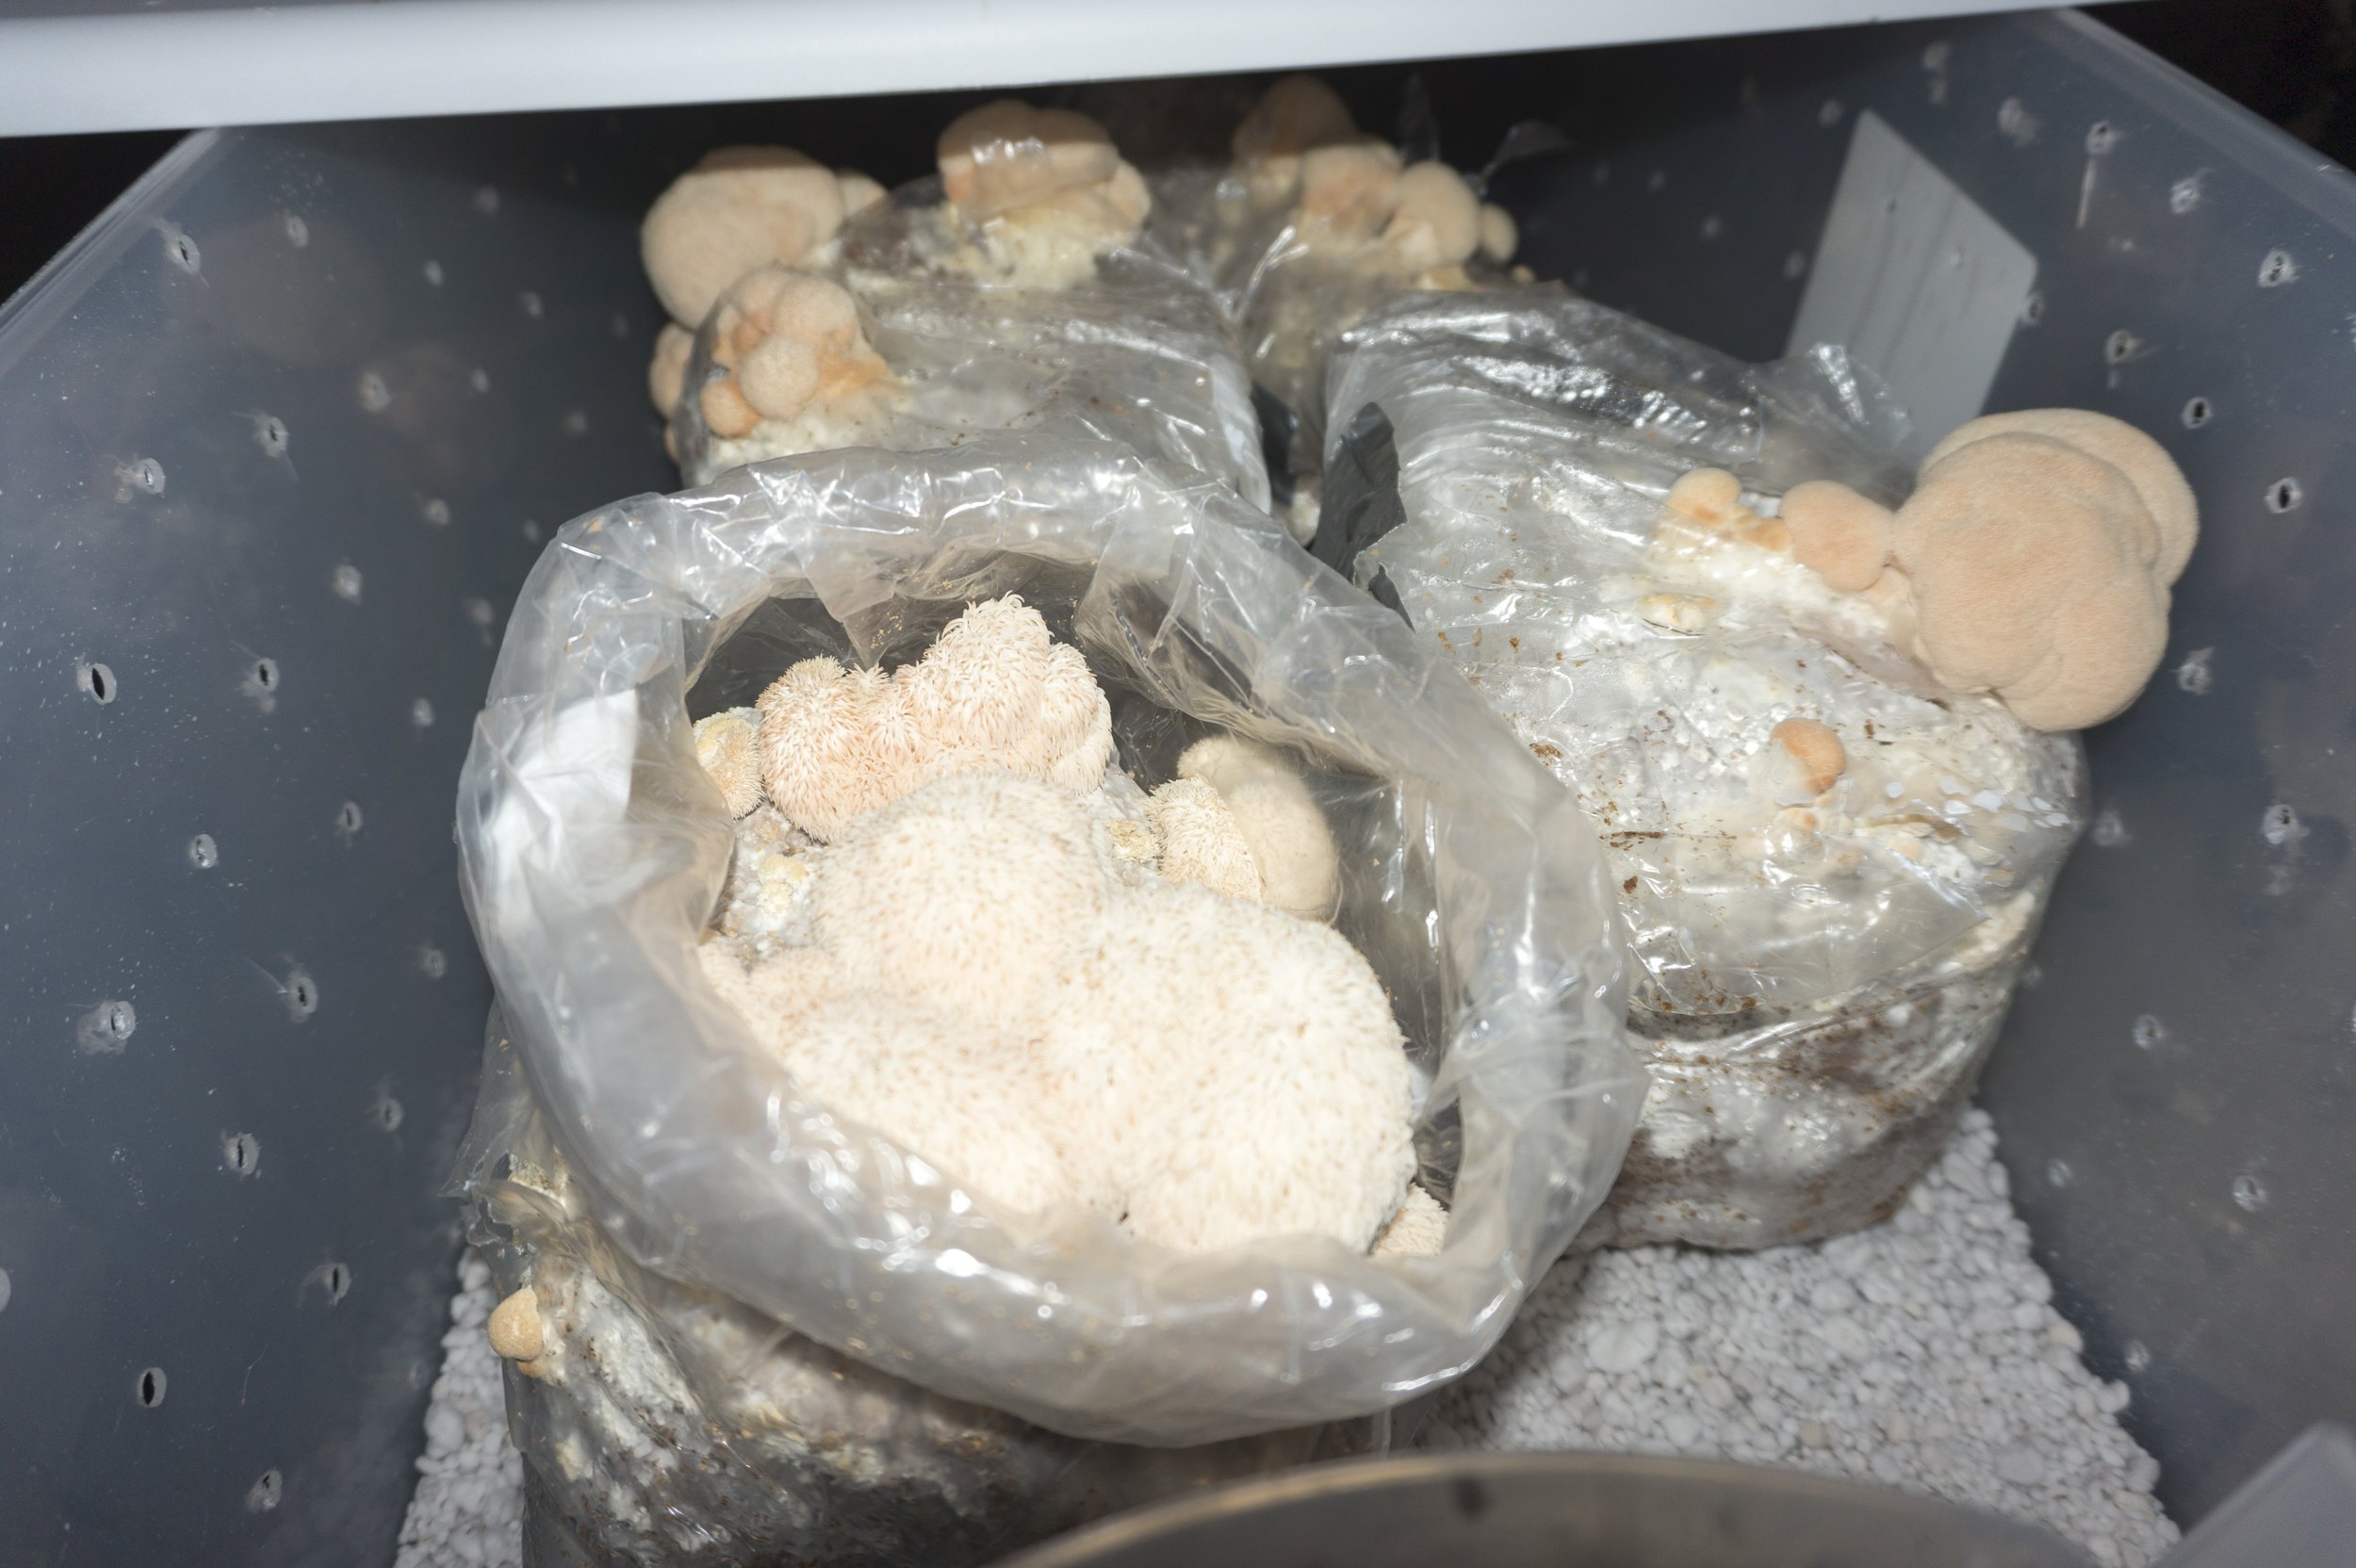
Our most simple design that we’ve found super effective for most cases and the “average” home. The key is to drill or cut holes that are at the appropriate tote height, of were you’d expect your mushrooms to be growing. Next, we want to drill holes evenly to provide adequate un-obstructed airflow so that when diffusion happens it will also create a natural air current to replenish Oxygen within the tub. Take a look at the pictures below for inspiration on how we’ve made some monotubs.
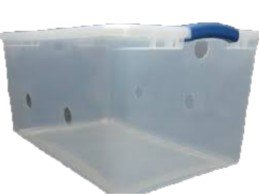
The simplest Monotub is made of a clear or transparent tote/storage tub. It has 6 holes total; that's two holes on each long side just above top of substrate and a hole at each end as close to the top as possible. It is important that the tub or tote be clear so the mushrooms know which way is up.
Hole Placement
Mark and cut or drill holes so that they split the side in to thirds. The distance between the holes is the same as the distance from the corners.
The Process of using a Monotub
While colonizing, all holes are covered with tape. This locks in moisture and allows CO2 to build up. The tape should not be breathable. The imperfect lid will allow for all the gas exchange you need. When growing or “colonizing” mushroom require a high CO2 environment similar to being underground.
Once 100% colonized and ready for fruiting conditions, the tape is removed. The bottom holes then get poly-fill stuffed tightly in them and the top holes have loose or no poly-fill in them.
Sometimes you can also include a HEPA filter fan in the room, but pointing away from the monotub. You have to experiment with this to see if you need one. Note if the fan seems to dry your substrate lower the setting or move it farther away.
Leave at least 10 to 12 cm of space between the tub and walls in your grow room. This will allow for the needed air circulation created by the HEPA fan.
There is also no need to tape the bottom of the tub as the best thing to do is line the inside with a black garbage bag.
Principle Operation of a Monotub
Thermodynamics says moist humid air rises because it's less dense than drier air. You may think moist air is heavier, but it is a little counter intuitive because we often don’t think of Air as a constituents of its components primarily Oxygen (O2) 21% and Nitrogen (N2) 78%, when “Air” is filled with more water or humidity it is carrying H20 which is lighter than Oxygen and Nitrogen. Therefore, humid air inside the mono should rise up and out the top holes, right? Because it's less dense than the drier air in your grow room, right? You can see evidence of this if you put a substrate in the tub and leave the holes completely open. You will see the substrate drying faster near and around the bottom holes. This is because the humid air flowing out the top creates a vacuum that pulls fresh dry air in through the bottom and moist humid air out the top. We don't want this to happen because mycelium weakens and the substrate becomes more prone to contamination as it dries. Stuffing poly-fill in the bottom holes lowers the volume of fresh air coming in. The tighter you stuff it, the less fresh air. Play around with the packing thickness to optimize your monotub for your growing conditions.
Tub Size
This is quite important to choose the right container size to accommodate how much you plan to grow, a good size container is 50 to 75 Liters. If your tub is too big, you may not get enough air circulation inside. If it's too small, it may get too dry inside. It needs to be tall enough. It needs to be tall enough to accommodate at least 5 - 10 cm of substrate and 10 - 20 cm of mushroom anything taller than 45 cm is unnecessary.
Troubleshooting
If you find the mushrooms drying out - Place vermiculite or Perlite in the bottom of the tote and water the vermiculate, this will provide additional humidity buffer. You can also Mist more frequently.
Mushrooms are lengthy or lots of “Coral” growths - There isn’t enough oxygen, resolve this by providing more airholes or use thinner filter material on your airholes. You can also “Fan” the tub wit the lid occasionally to evacuate any settled CO2.
Nothing is happening - This can be due to environmental conditions that are not conducive to primordial or pin formation of mushrooms. The best thing to do is nothing at all if the mushroom grow block is still on its first grow/harvest. Bring the tub and leave it somewhere cool and humid, ~10 to 15°C and 75% relative humidity. If the mushroom block is on its second grow it may be time to re-hydrate the block to revitalize and refresh the mycelium.


