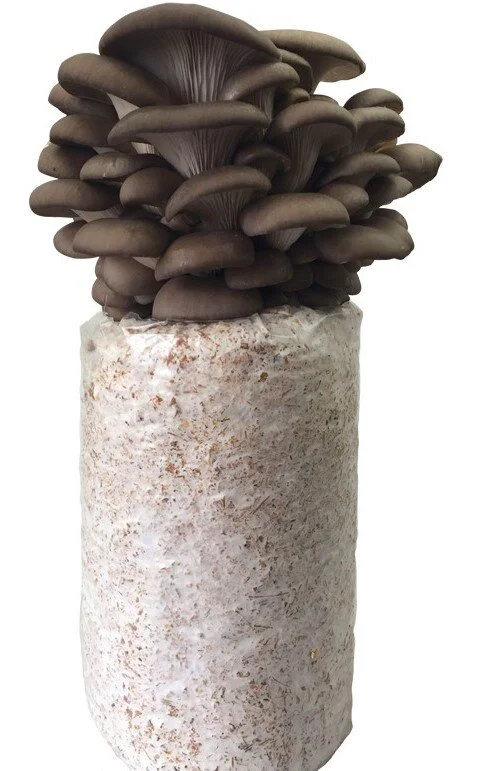
Grow Kit Growing Guide (3lb and 5lb) Blocks
1. Inspect the oyster mushroom grow bag for damage and punctures. This can cause contamination (see instructions at the end).
2. Place the grow bag indoors at room temperature, on a counter away from direct sunlight.
3. Let the grow bag sit for about 20 to 25 days. During this time the substrate will slowly start to turn white. This is the mycelium growing.
Mycelium slowly multiplying (Colonizing) the Grow Kit
4. Once the grow bag is mostly white, sterilize a clean fork or small knife with alcohol, 2% bleach or a lighter.
5. Poke holes at different areas on the top surface. On different areas of the top surface, more holes = shorter but more mushrooms, conversely less holes = bigger but fewer mushrooms. This is personal preference.
3lb Grow Kit Hole Locations.
6. In about a week, pin like objects will start to grow out of the holes. This is called pinning.
7. If pinning takes place in a different location away from the poked holes, use a sterilized knife to cut an X in the pinning area to allow the pins to grow out of the bag.
Top Fruiting 5lb Mushroom Grow Kit - You can choose to Top Fruit 5lb Mushroom Grow Kits if you’re able to provide constant 85-95% Humidity.
8. Continue to mist the pin/mushroom area 2-3 times a day so there are always droplets of water on the top surface. Any mist that lands on the grow bag surface will evaporate to create a morning dew like humid environment that can assist with growing. No standing pools of water.
9. If the grow bag is placed into a container with a lid, open the lid a few times a day to fan in some fresh air. Below demonstrates several methods used to boost Humidity Levels.
10. In about a week, when the mushrooms are about the length of your fingers, harvest the mushrooms with a clean knife by twisting or cutting the base of the mushroom.
11. Refrigerate mushrooms in a breathable container for up to 7-11 days.
12. Cook immediately for best results.
13. Depending on growing conditions, this grow bag can generate about 2-4 harvest.
14. Once the mushrooms stop growing, remove all plastic parts. The substrate can be placed in the garden as compost or fertilizer. Dispose plastic parts.
15. From the beginning to end, if contamination is spotted, do not continue the growing process. The substrate can be placed in the garden as compost or fertilizer.


