A simple guide to Mushroom Growing (1 to 2 lb Grow Kit)
I thought I would provide simplified guide for beginners when they first inoculate their own grow kit here with us at Shroom Stop. Hopefully you were able to pay attention and remembered some important steps when we were going over the inoculation portion of your grow kit and what to do after you’ve made your new little Fun-Guy friend. I hope this is able to help guide you on your journey after creating your own grow kit here at Shroom Stop.

Image of inoculated 1lb grow kit, it will look empty and desolate. It is up to your mycelium friend to find his way around.
Step 1: Colonization/Spawn Run
After Inoculation you’ll be bringing home your own little friend that will want to continue to grow, the best place to put him is somewhere warm (ideally 16 to 25°C) and away from direct sunlight (UV light will damage the delicate mycelium). Once you’ve found a suitable spot, you’ll want to watch how the mycelium grows and colonizing the remaining “Food” or “Mushroom Soil”. This is a great time to take a picture of it once or twice a day as it grows, you’ll get an awesome time-lapse of your little fuzzy buddy growing.

Mycelium has gain a foot hold and started to build out his community, note you always want to see white “structured roots” this is a tell tale sign you’ve got healthy mycelium.
Step 2: Hyphae(Hyper)-Travel
Now the fun part, you can either allow the mycelium to slowly colonize and expand outwards from the initial (Agar Agar/Mycelium Sample) or you can give it a gentle mix to thoroughly distribute the mycelium throughout the bag, if you choose to do so it will speed up the rate of mycelium travel. Imagine being tossed from Vancouver to Hong Kong or Japan in meer seconds. This is what we’re doing when we’re mixing up the mycelium, we’re promoting/aiding its travel. As you begin to mix the bag up, fear not that the white fluffy root structure/mycelium has disappeared, you didn’t kill or damage him/her. They will re-grow back in about 2 to 3 days again. You’ll begin to see a bunch of smaller “white roots” radiate out similar to our one Agar Agar slice we plopped in there. It will typically take 1 to 2 more weeks for it to fully colonize the entire grow block

You can allow the mycelium to fully colonize the grow kit by itself, or you can promote “hyper travel” by gently mixing up the grain with the hardwood substrate below.

Mixing up the grow kit gently as to not puncture or rip the plastic. You’ll see the grain and hardwood are thoroughly mixed together to promote “Hyper Travel”, my play on word with “Hyphae” Travel.
Step 3: Fruiting and Harvesting
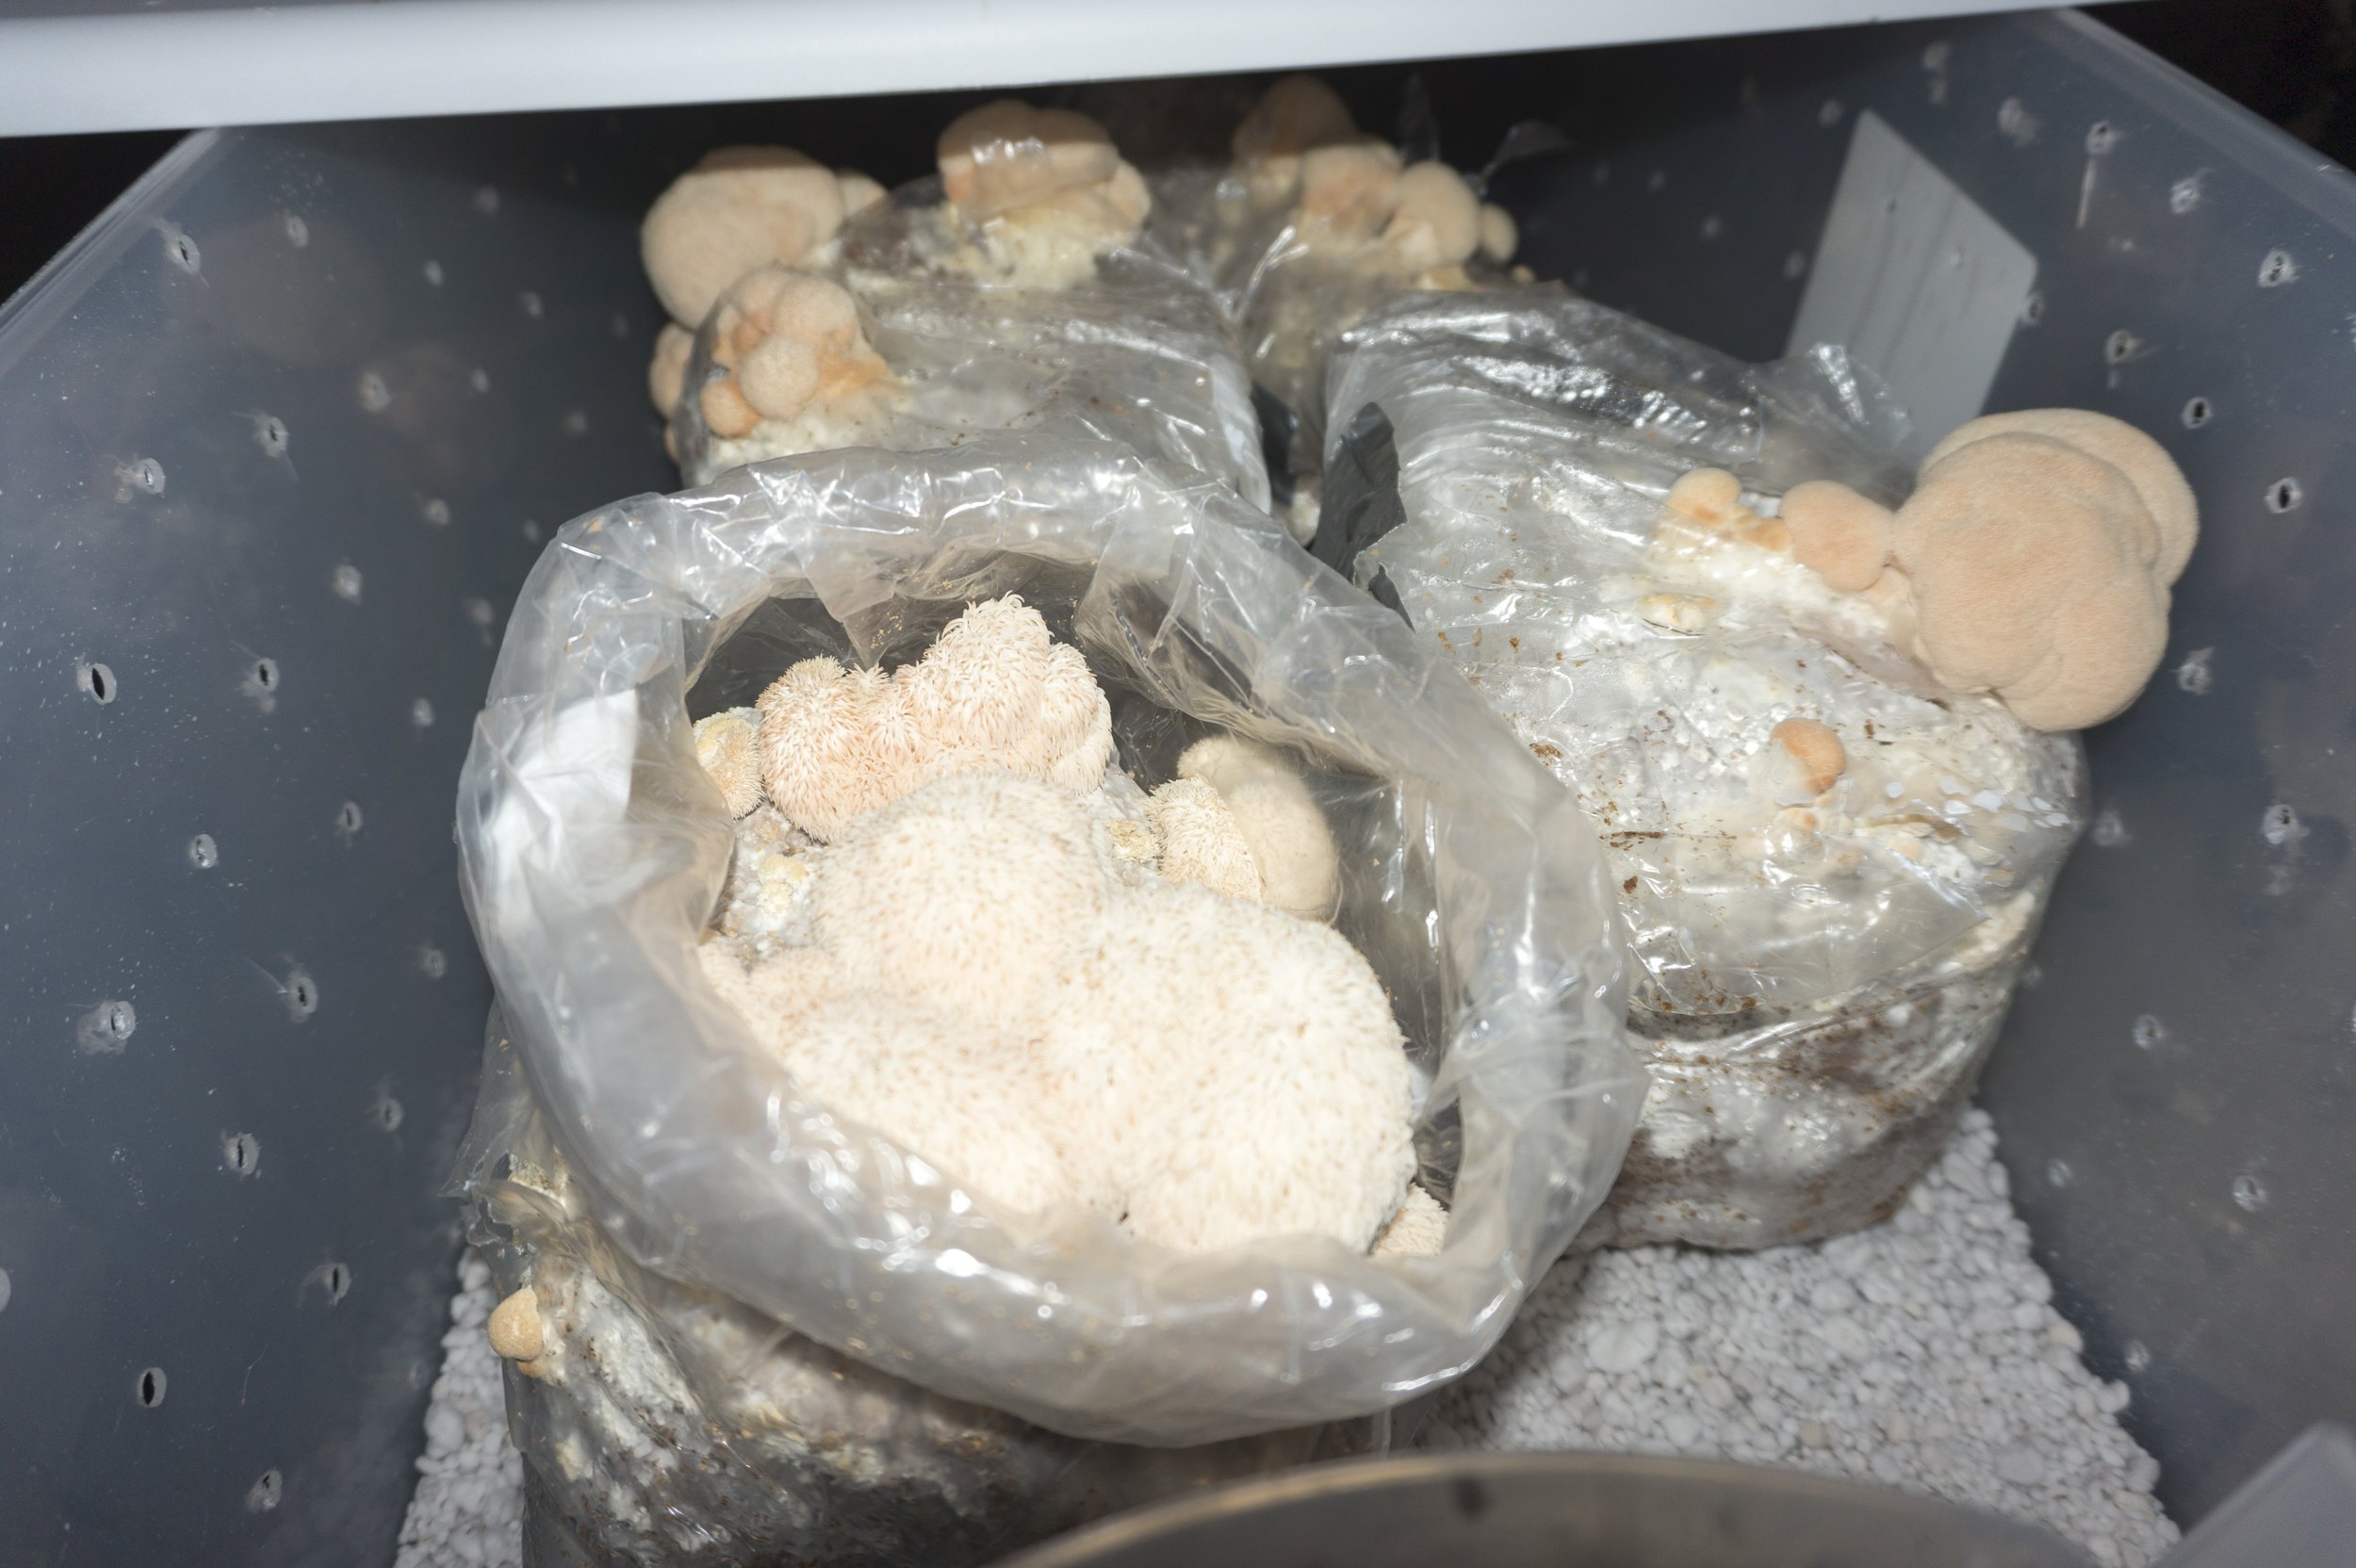
For the Majority of the mushroom strains you can top fruit them right out of the bag.
Congratulations your mycelium should now be fully colonized with mycelium, you may even begin to notice changes occur, the mycelium may begin to form fruiting bodies or change color. You can find out more regarding these changes on the individual strain grow guides on our website here:
Once you being to see these changes, there isn’t any rush to start anything, but it is best to have prepared our fruiting chamber. You can make a fruiting chamber with a simple plastic shoe box or container. You can learn more about fruiting chambers here:
Lastly, you’ll want to maintain the proper Relative Humidity and Temperature. While also providing plenty of Fresh Air, it is important to note the more Fresh Humid Warm air you can provide, the bigger the mushrooms will grow.
As always, if you have any questions or concerns, feel free to reach out to us or come by the shop to talk with us. Like mushrooms, its always best to grow as a community 😊.
-Mush Love, Shroom Stop.